Long Furby
The year is 2021. It is my friend Alana's birthday, and I have seen fit to inflict upon her a terrible gift. Having recently stumbled into an internet subcommunity centered around rebuilding vintage Furbies into snakelike (often upsetting) art dolls, I am taking this as an opportunity to inject a little bit of electronic mischief into a largely sewing-oriented hobby space.
In this post I'll be walking through my entire production process step-by-step. The whole project took about three days in total, and many of the materials were things I had lying around my workshop in need of a home. If you'd like to skip right to the final result, click HERE.
Step 1: Skinning and Teardown
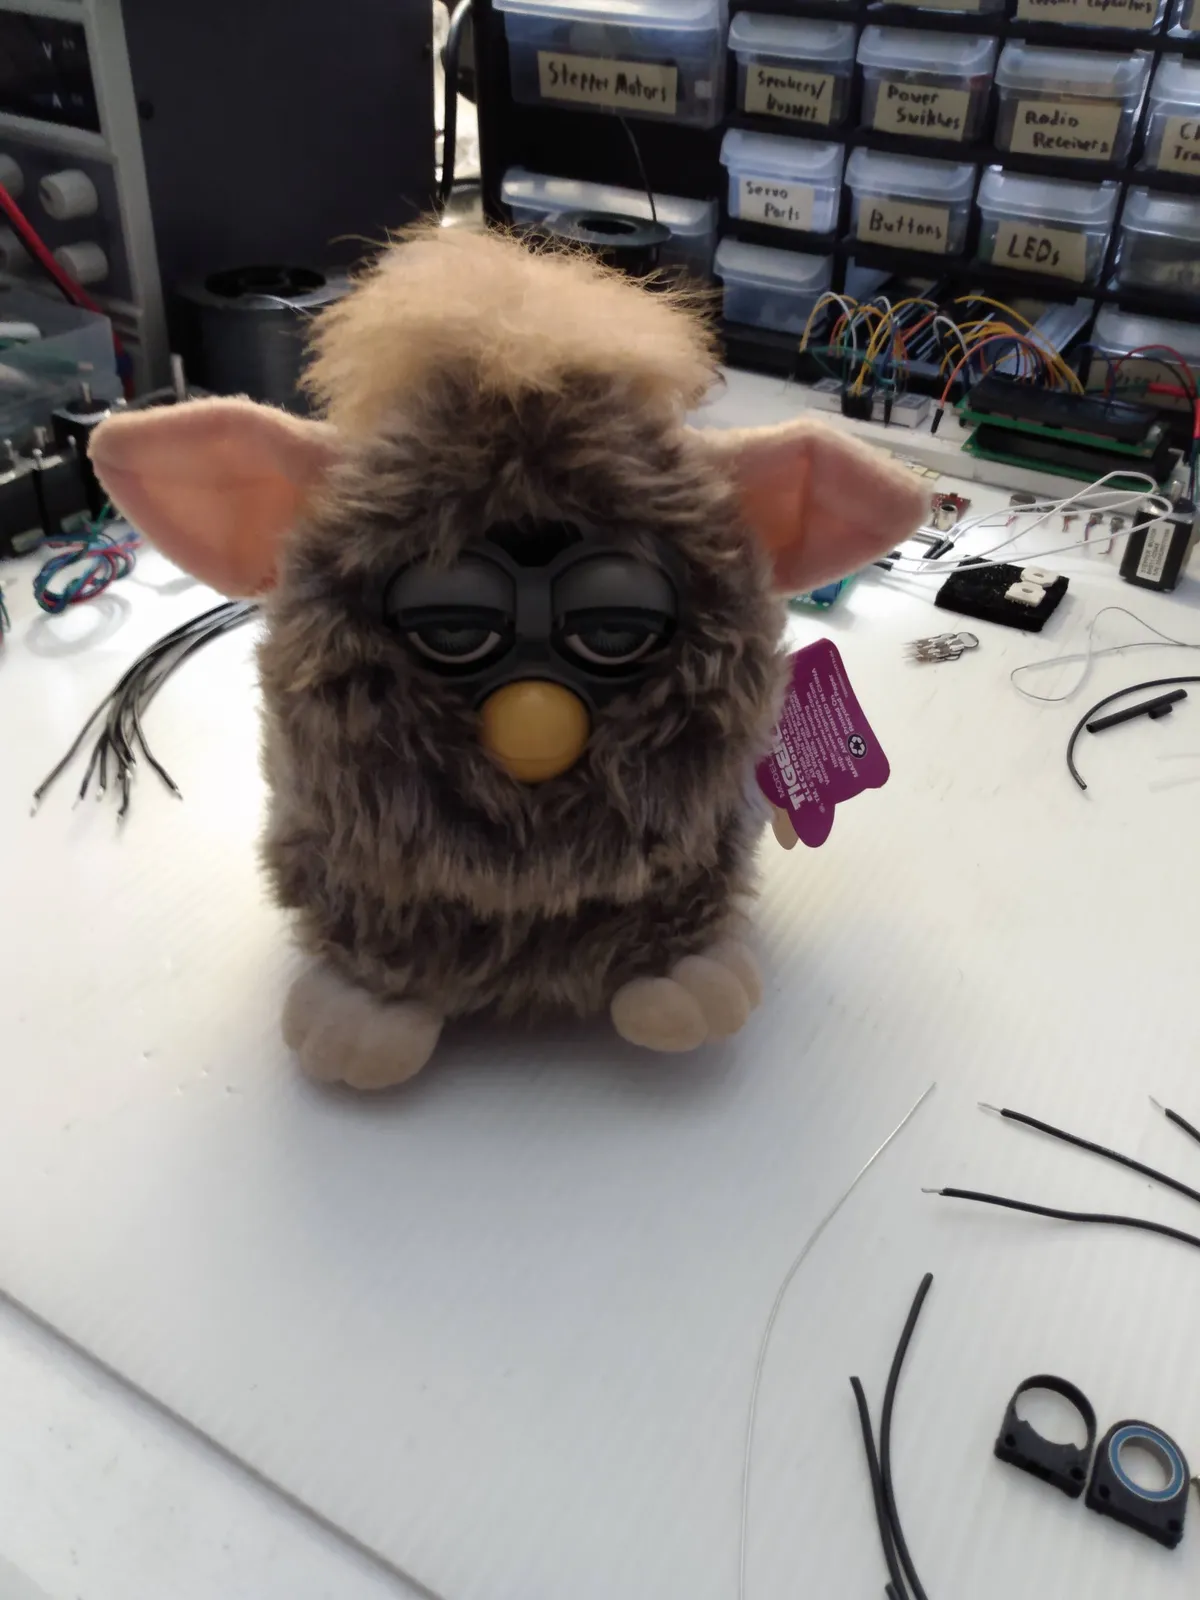
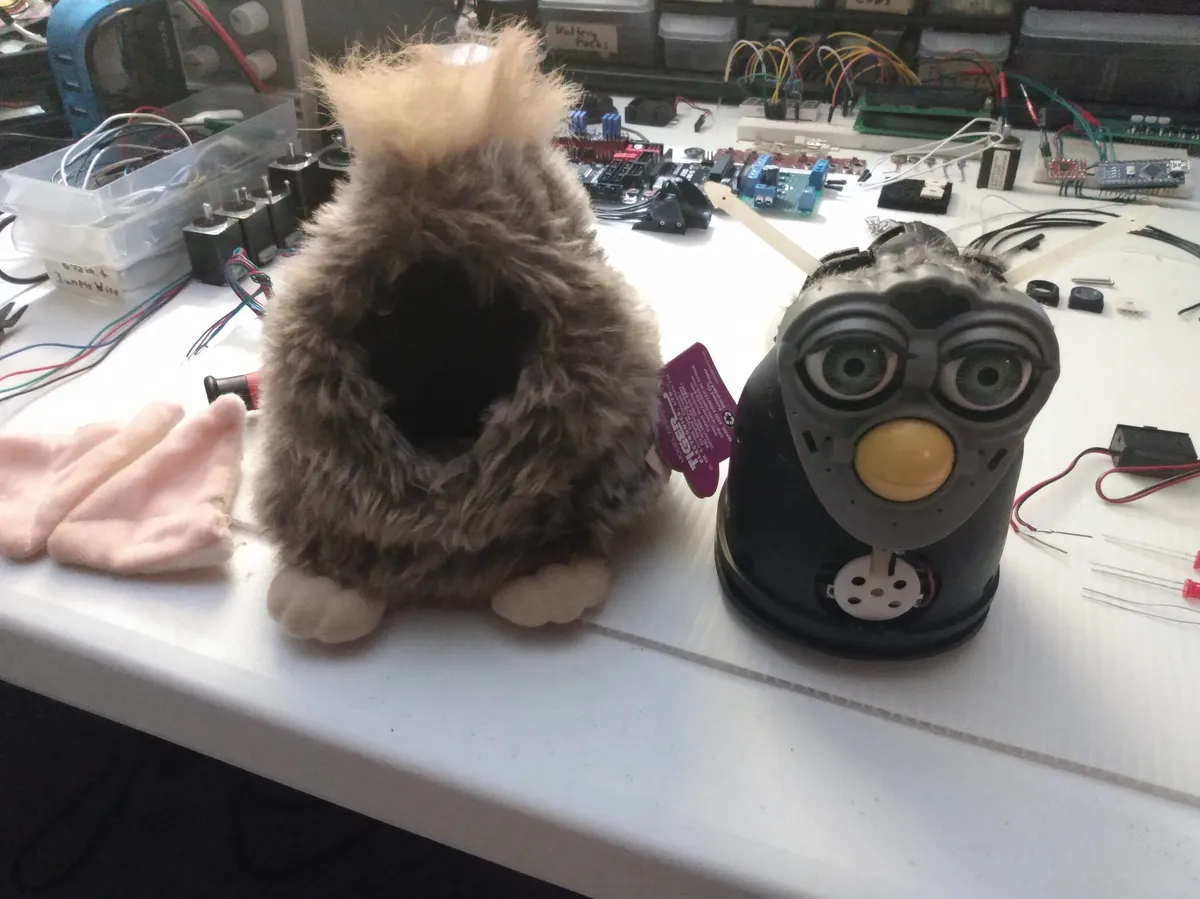
For my base, I have selected a less-than-mint condition specimen of 1998 vintage. It cost me $40 on Ebay, which I take as evidence I'm not destroying a particularly sought-after artifact. I begin by removing the hide, from which I will save the ears and feet for reattachment once the new skin is ready. Cracking open its internal shell, I investigate the electronics inside for anything interesting I can repurpose (this species is animated by a rudimentary microcontroller and a clever servo/gear system). Ultimately, everything gets scooped out except a light sensor in the forehead, which I have big plans for.
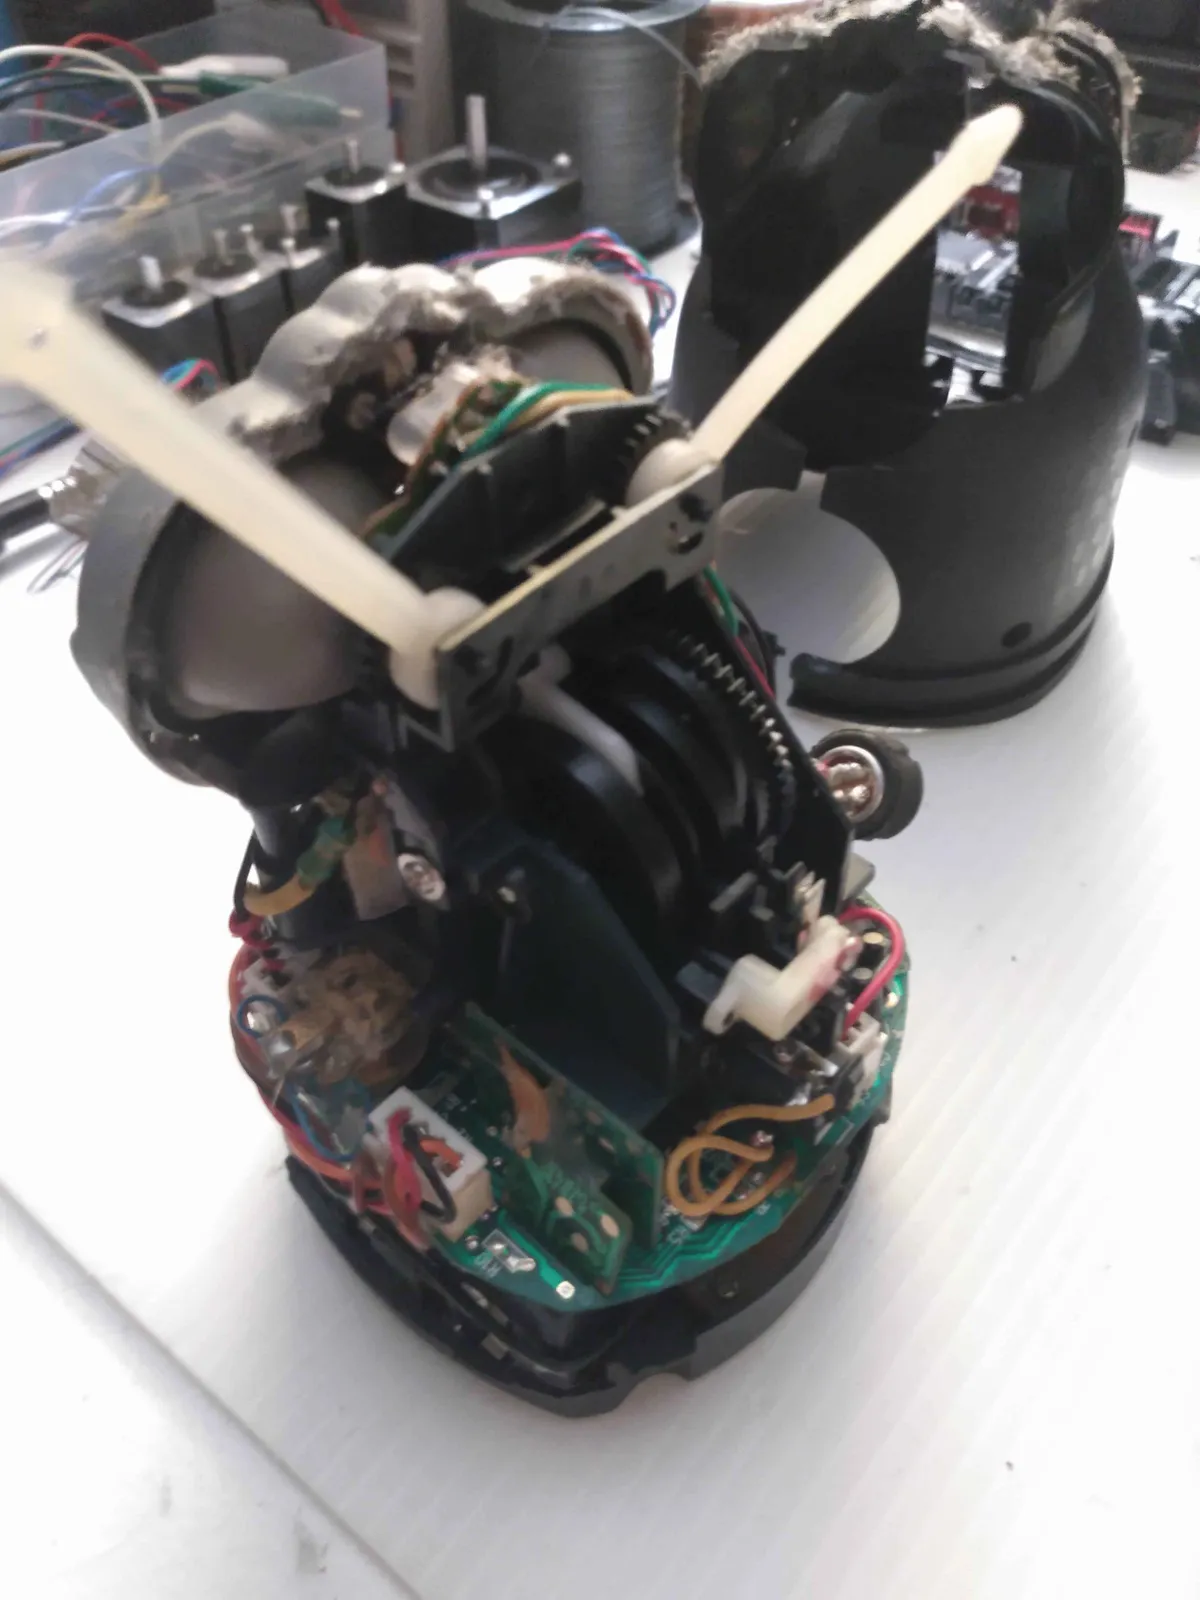
Step 2: Brain Surgery
My grand vision is for the furby to appear inert until it senses complete darkness, at which point its eyes will snap open and glow red, demonically. I accomplish the glowing part by drilling holes through the backs of the eyelids and threading the leads of some generic LEDs through them. This puts the lights right behind the thin white eye plates, providing pretty good illumination while keeping the diodes entirely hidden.

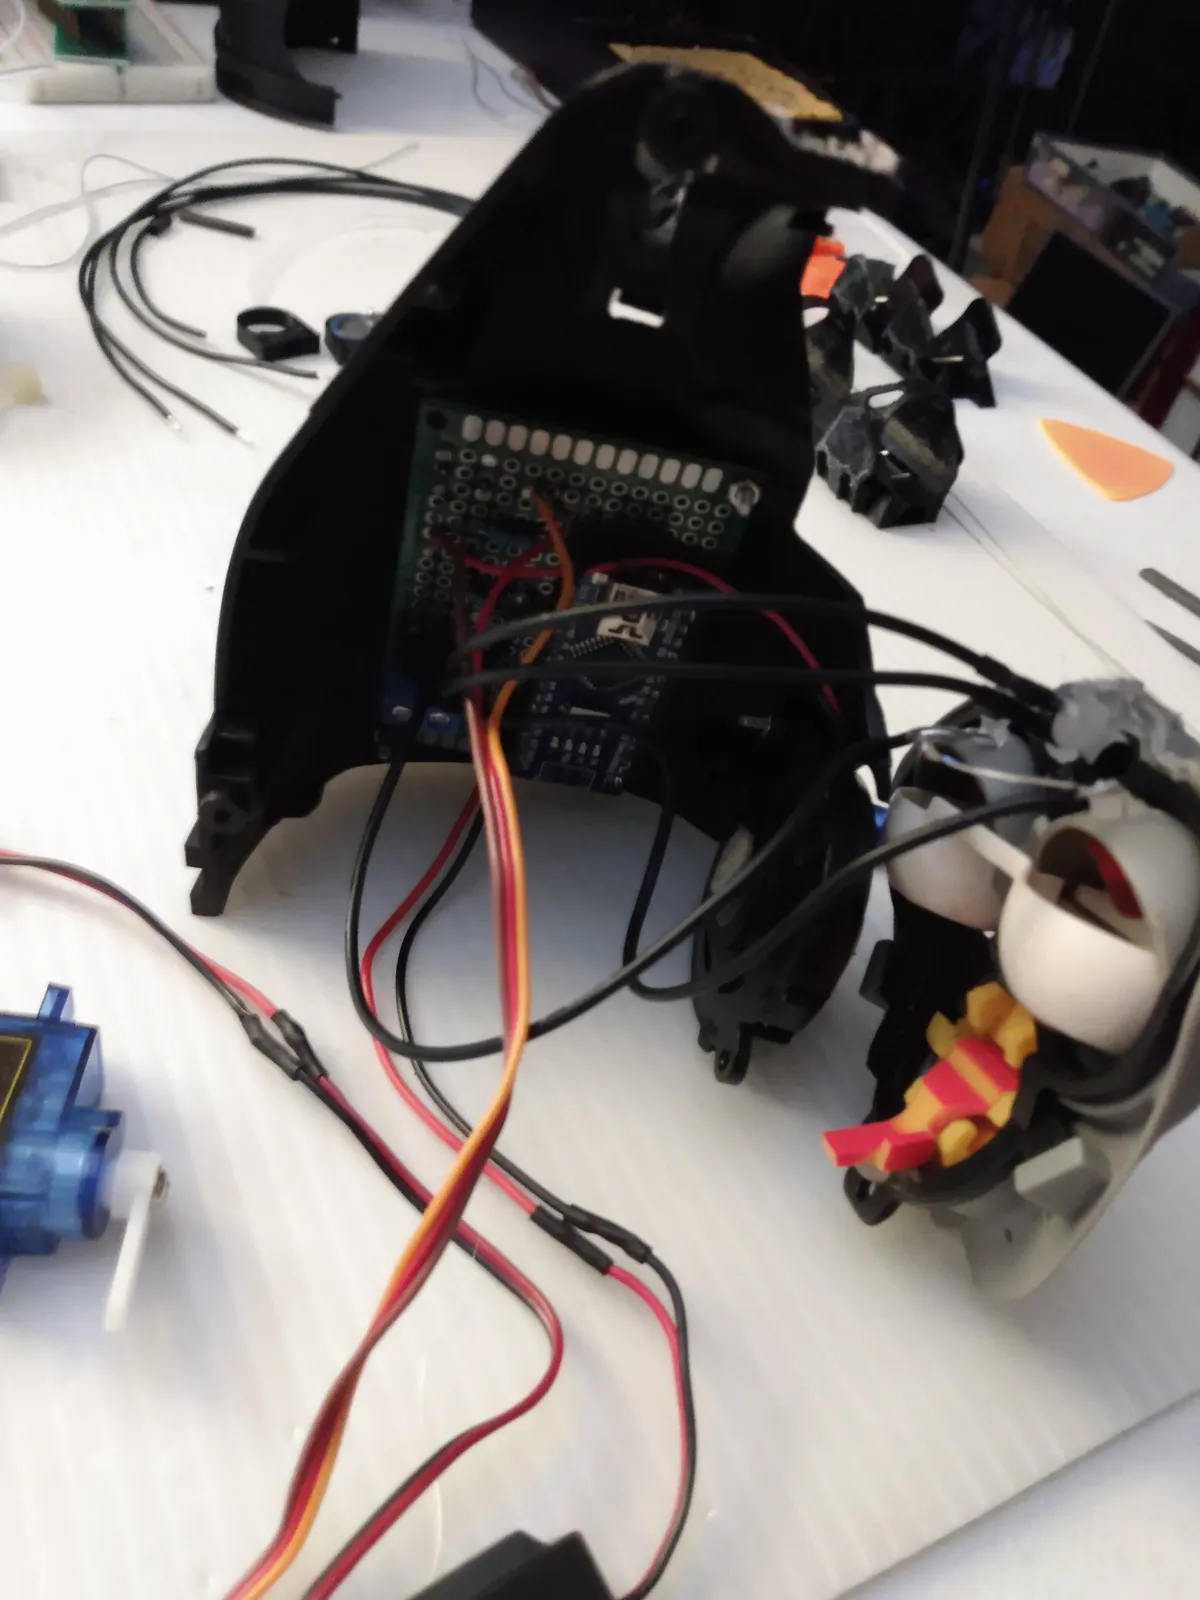
Because the LEDs are mounted in the moving eyelid assembly, I can make the next step a whole lot simpler by using their power cables to mechanically link the eyelids to a servo. This has the added benefit of spring-tensioning the eye-opening system, making it more resilient to jostling (in theory) than a rigid linkage. I'd use the mechanism that came with the furby, but that was designed such that it collaterally moves the beak and ears, which is undesirable. [SHOW INTERNALS VIDEO HERE]
That light sensor I mentioned earlier is supposed to be how the creature detects gestures, however it can be easily repurposed to check for ambient light in general. I install an Arduino Nano to read its status and send a signal to the eyeball servo/lights when it's been dark enough for long enough. I also wire up a button on the creature's stomach to deactivate it for 24 hours, so I can put it in a dormant state while it's being transferred to its unsuspecting host. I want all my electronic modifications to be a secret until it's nice and settled in its new home (so it has a chance of legitimately startling someone).
Step 3: Adding the Endoskeleton
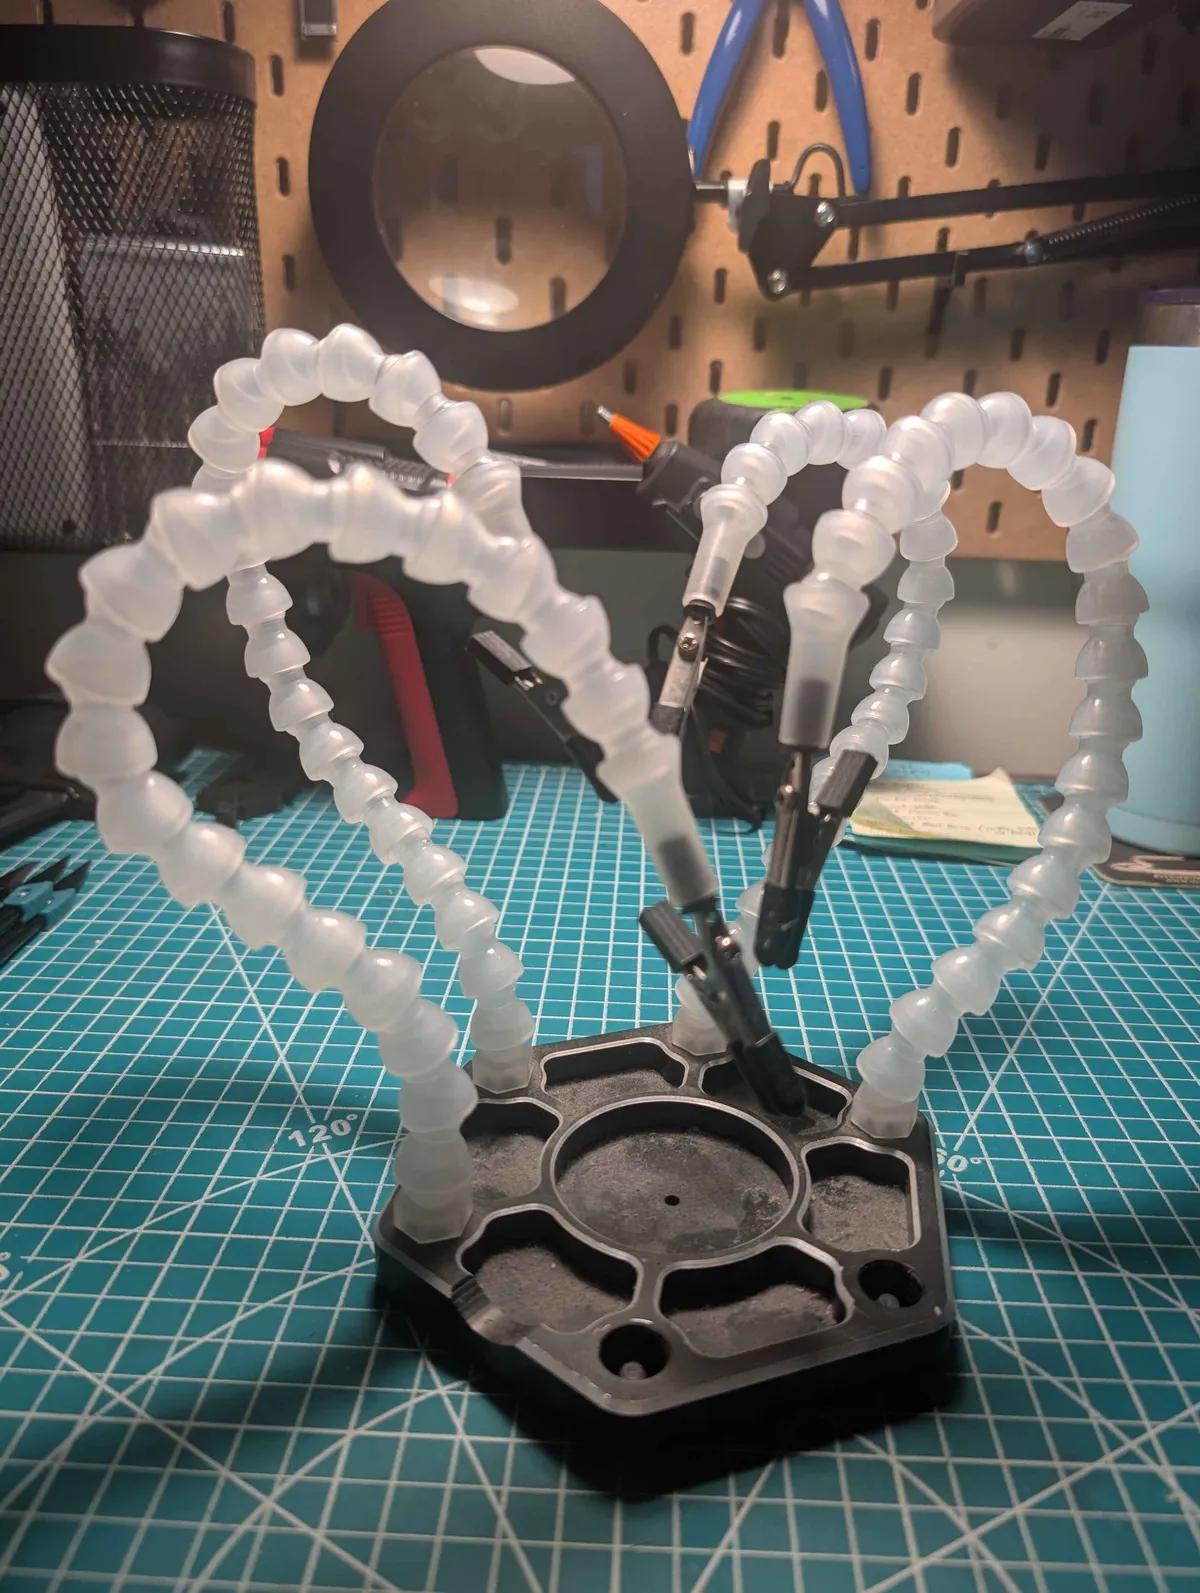
Any Long Furby worth its salt features an articulated spine sturdy enough to make it stand up on its own and allow it to bend into various poses. I happen to have a spare third-arm thingy (for soldering work) which uses knockoff Loc-Line tubing, so I'm using that. As you can see, it works pretty well!
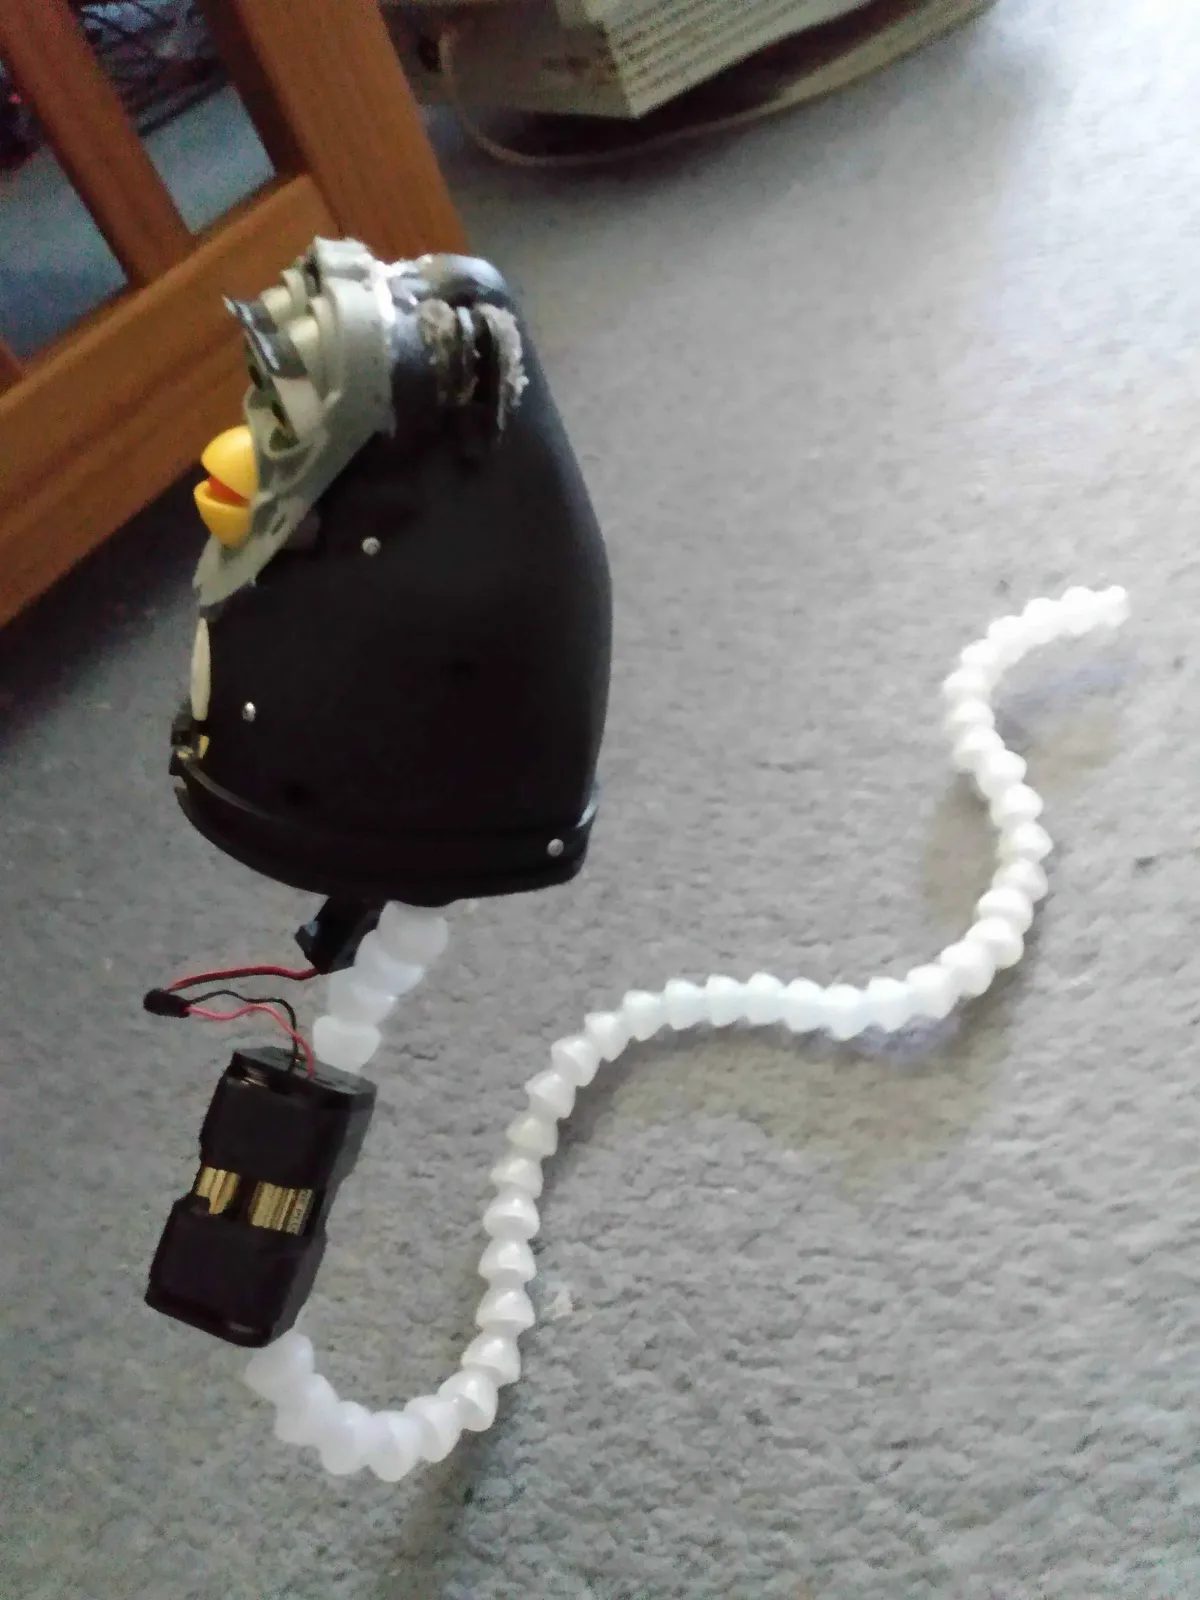
I'm using a lot more cardboard and hot glue (for stuff like marrying the spine with the head) than I normally would here because it's all going to be getting covered in fur, ne'er to be seen again. The one big (somewhat embarassing) headache I had with this project was figuring out power. I had originally wanted to use a nice compact 9-volt which could fit inside the head, but I learned the hard way such batteries put out so little current they can't sustain both a servo and an Arduino simultaneously. I almost didn't have the project ready in time because I was not aware this issue was causing the controller to reset whenever the motor turned on. Anyway, my nuclear option here is using a brick of four AAs in series, which gives me the 6V I need to keep the board powered while sacrificing a little oomph with the servo. Not pretty but it works, and it should last for years.
Step 4: Metamorphosis
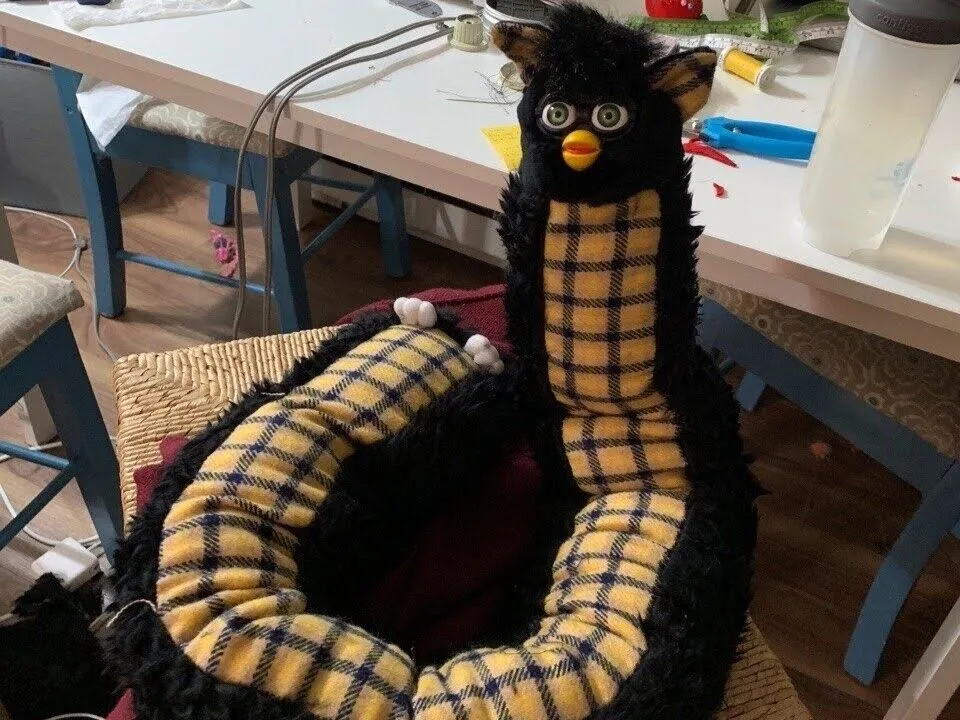
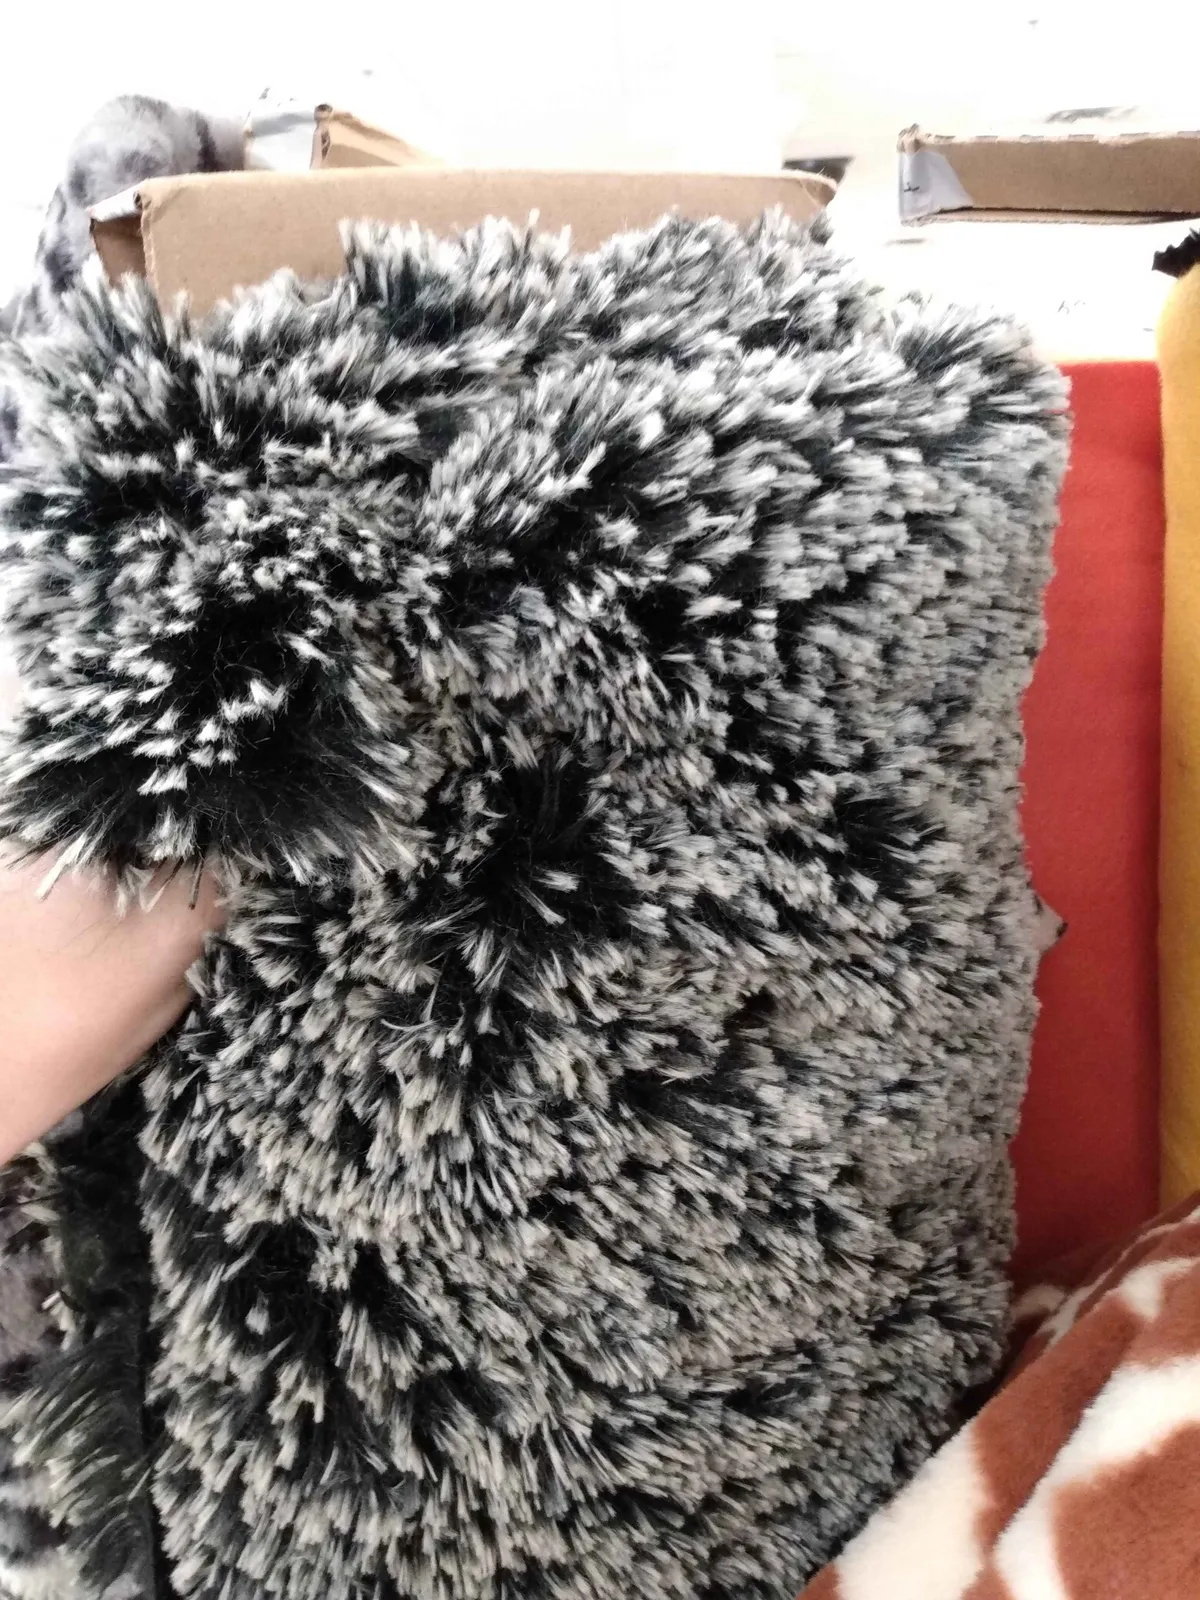
Now that all the guts are squared away, it's time to put some meat on these bones. For the skin, I've picked out some material from Joann's (rip) in colors I think Alana will like, choosing a nice bumpy texture for the underbelly and a medium shag for the back. I'm taking inspiration here from the long furbies I tend to see online, which often feature similar countershading and texture combinations. I think the idea is they're supposed to be a little reptilian but mostly scraggly and murine.

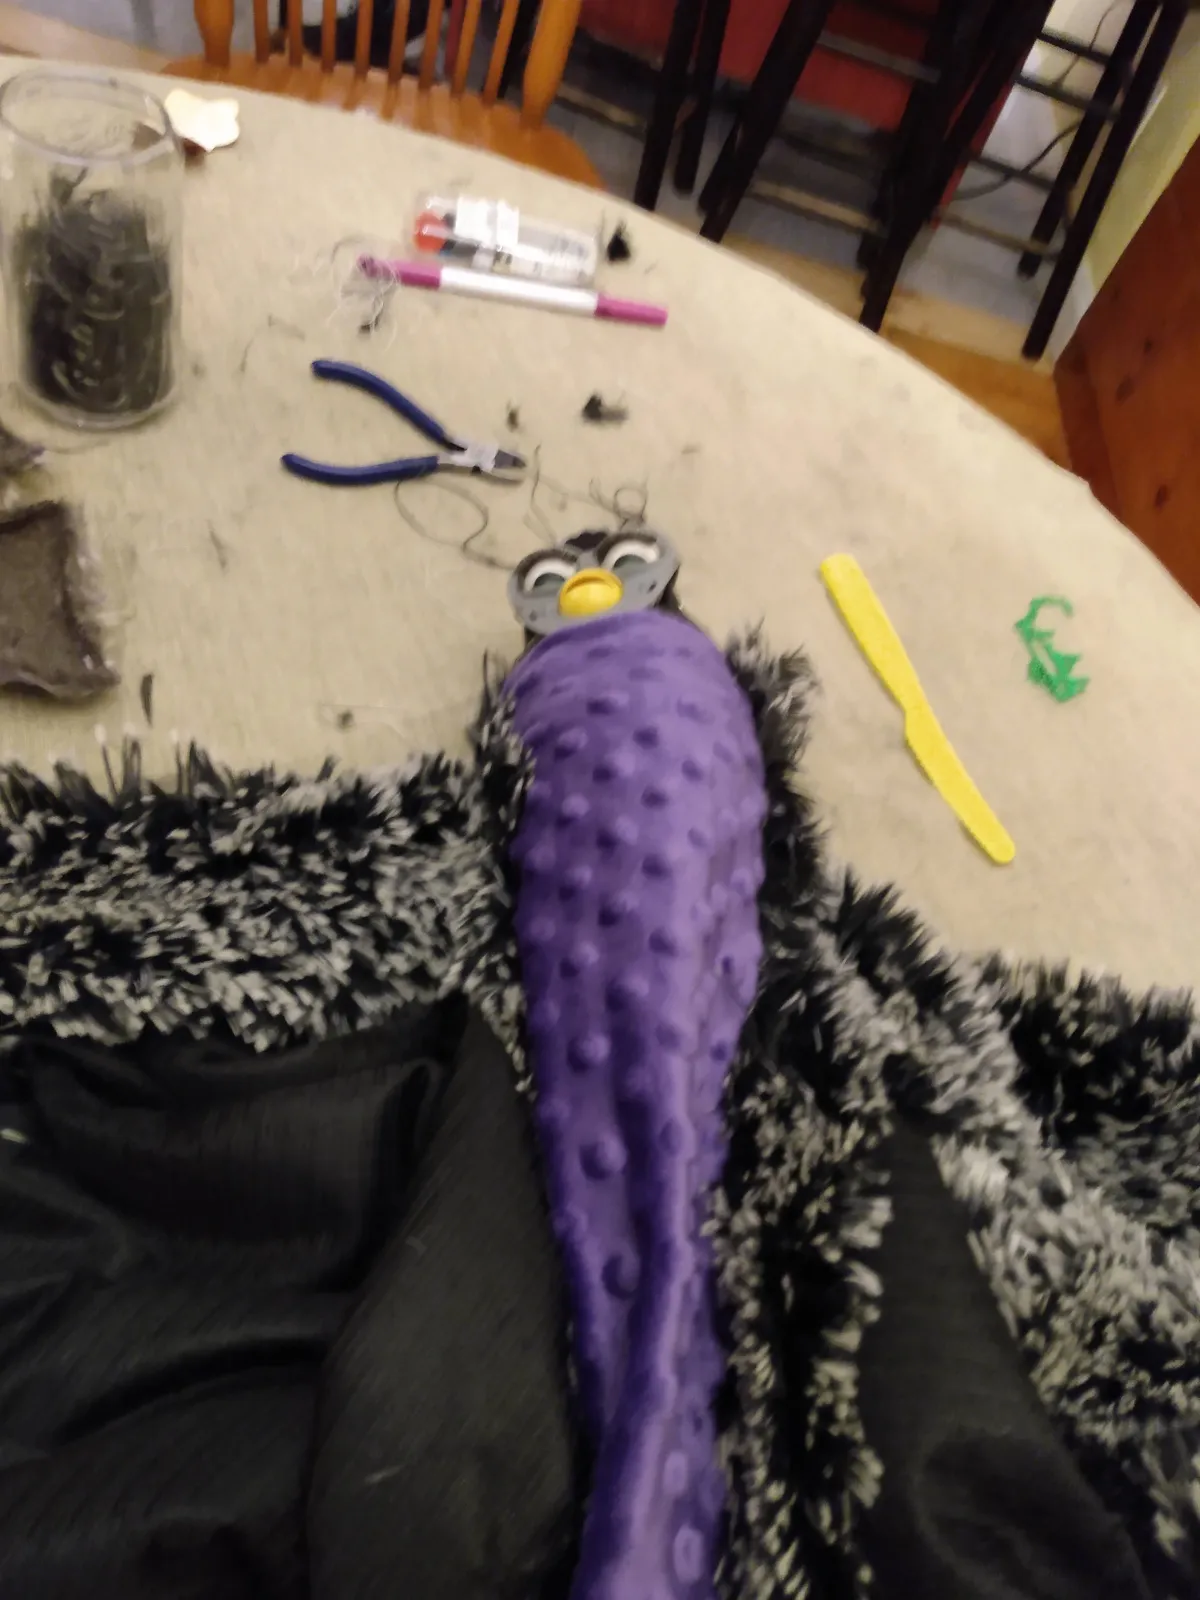
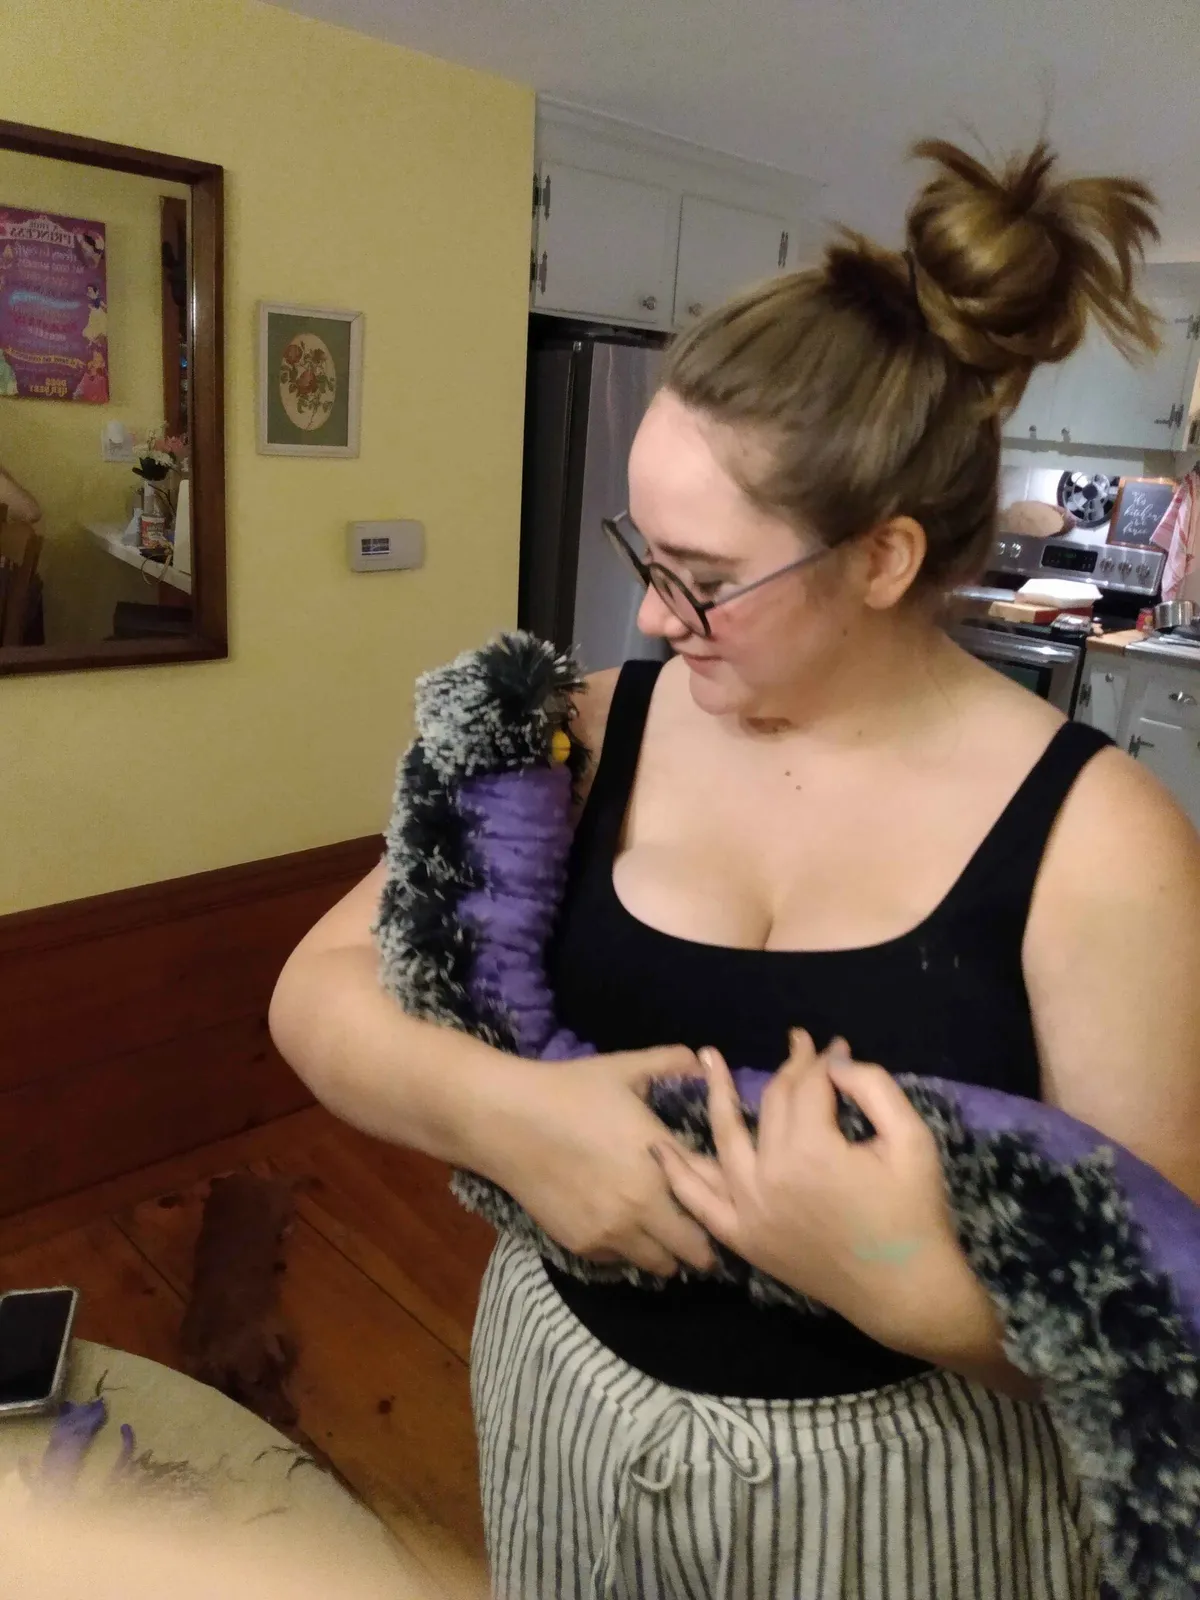
My friend and co-conspirator Sam is helping me out with the stitching because I am a total liability with a sewing machine. The body is straightforward, just a spine-length tube that's closed on one end, but the head cowl is quite tricky and takes us a bit of trial and error (and regrettably, more hot glue). We had to be careful to not let the fur fall over the light sensor, which would be ruinous. Before closing up the tail, we pack it full of stuffing from a $1 throw pillow. And just like that, a star is born.
Step 5: Accessorization
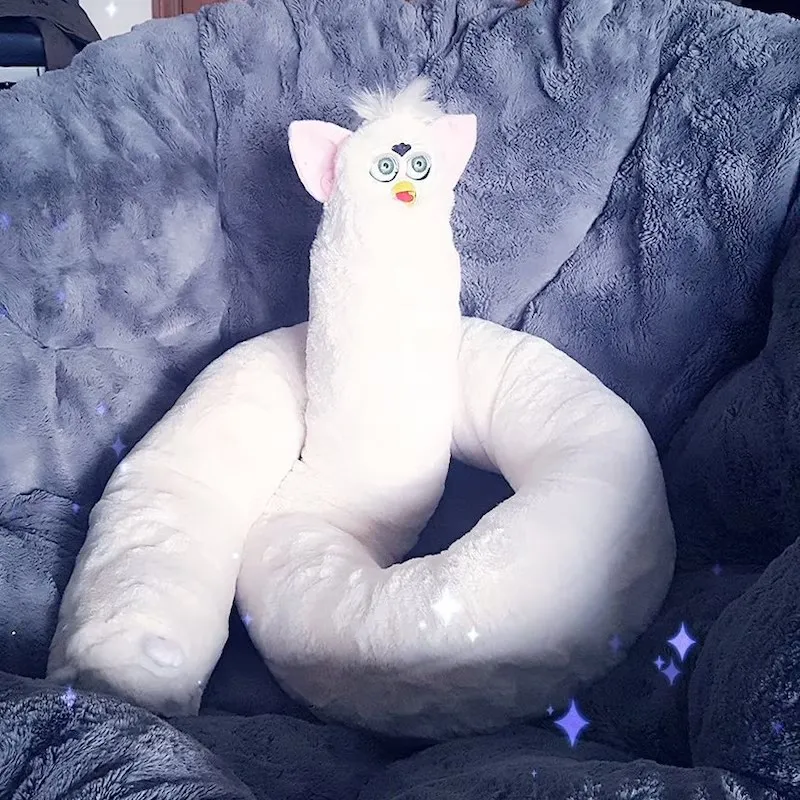
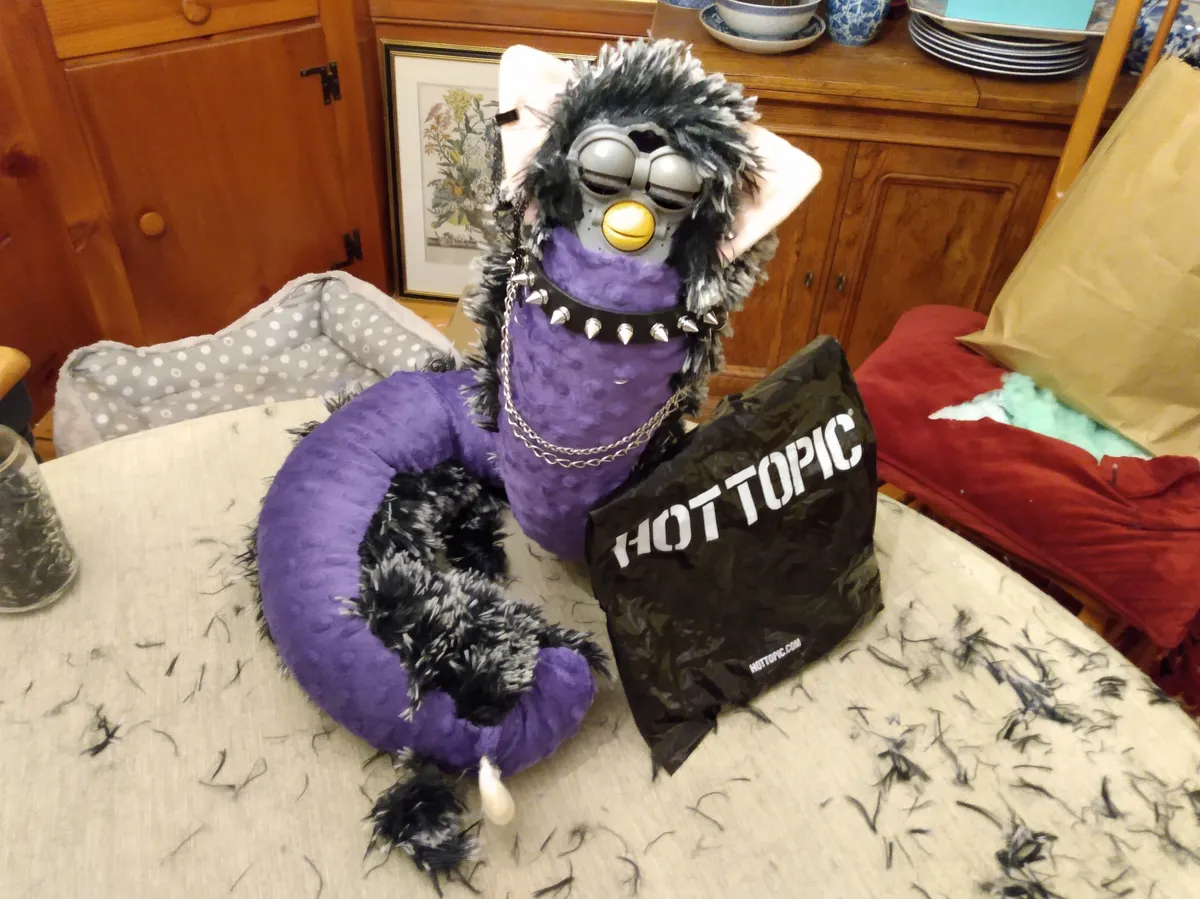
Our creation is finally ready to have its feet and ears reattached. Some designs have custom ears made out of the body materials, but I feel like the originals make it look more organic. Unfortunately, there is some twist to the body tube so the feet are facing a different direction from the face, however this is a deformity I can come to accept.
For personality, I brought an assortment of trinkets and ornaments from Hot Topic and we picked the ones that felt right. Mostly earrings and necklaces, because it is basically just a big neck with ears. Behold, at last, our beautiful boy:
 [ADD VIDEO DEMO]
Closing Thoughts:
I had a delightful time working on this piece. It did accomplish its mission of initially alarming Alana then, a couple days later, activating in the middle of the night and being properly horrifying (she treasures it now, of course). Rapid prototyping is not my default mode when it comes to personal projects, so this was an interesting exercise in loosening up and learning (and often failing) quickly. I found working quick-and-dirty with cardboard and glue was at times so much less stressful than 3D printing. Most of it came together without a concrete plan, although in retrospect I got pretty lucky with the furby I picked out. All-in-all, I could not be happier with the outcome given the time frame, and I love it like a son.